
How to Fix a Running Toilet Without Wasting Water
A toilet that keeps hissing, trickling or refilling after every flush can waste a surprising amount of water. Knowing how to fix running toilet issues starts with working out where that water is going. In many homes, the cause is a worn seal or a fill valve that needs adjustment. Both can often be identified without removing the toilet or using specialised tools.
The key is not to ignore it. Even a quiet leak from the cistern into the bowl can add to water use and leave you with a higher bill. If the toilet will not stop running, is overflowing, or has a cracked cistern, turn off the water supply and arrange professional help.
First, work out why the toilet is running
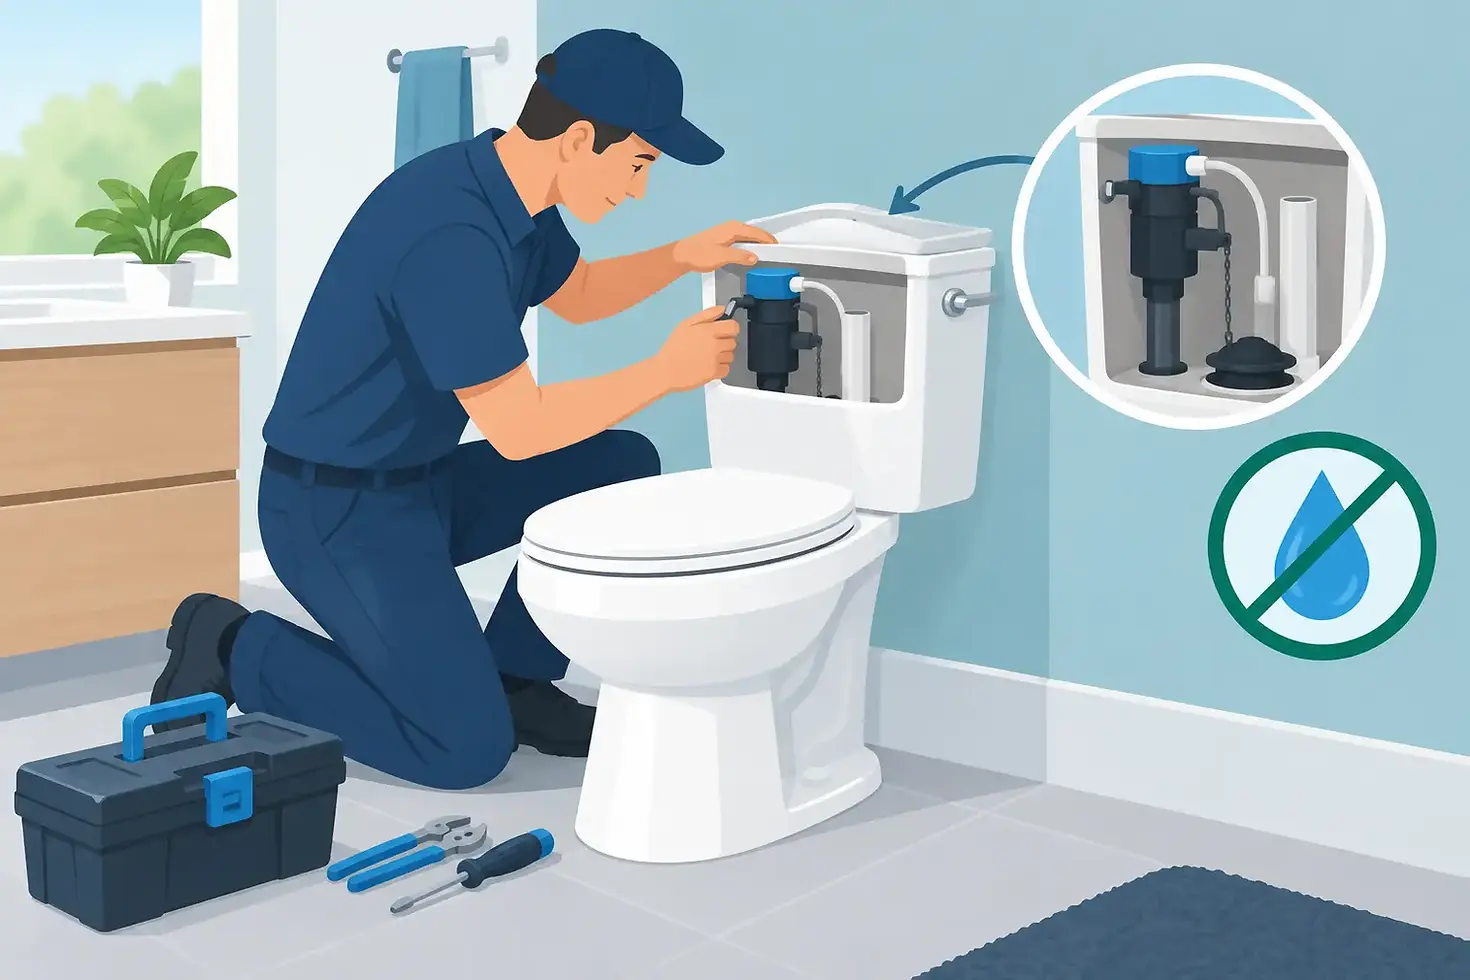
A running toilet usually means water is either leaking from the cistern into the bowl or the cistern is filling beyond its correct level. Lift the cistern lid carefully and place it on a towel or stable surface. Ceramic lids can crack easily.
Look inside while the toilet is running. If water is flowing into the overflow tube in the middle of the cistern, the water level is too high or the inlet valve is not shutting off properly. If the cistern fills, stops, and then slowly refills without anyone flushing, water is likely escaping past the outlet valve seal at the bottom of the cistern.
Many newer toilets use a dual-flush outlet valve rather than the older rubber flapper setup. The principle is the same: a rubber seal should hold water in the cistern until you press the flush button. Over time, mineral build-up, grit, warped rubber or a damaged valve can stop it sealing properly.
A quick food-colouring test
When the cistern appears full and quiet, add a few drops of food colouring to the water. Do not flush the toilet. Wait 15 to 20 minutes, then check the bowl. If coloured water has appeared in the bowl, the outlet valve seal is leaking.
This test is useful because a slow leak can be hard to see or hear. It also helps separate a cistern fault from a separate issue such as condensation or a leak around the base of the toilet.
Before you start: isolate the water
Find the small isolation tap on the wall or floor near the toilet. Turn it clockwise to stop the water supply, then flush the toilet to lower the water level in the cistern. If the tap is stiff, corroded or starts dripping when you touch it, do not force it. An older isolation valve can fail when disturbed and may need replacement by a plumber.
You will usually only need a sponge, an old towel and possibly adjustable pliers. Take a clear photo of the inside of the cistern before taking anything apart. It makes reassembly much easier, particularly where there are several button rods, clips or adjustment settings.
How to fix a running toilet step by step
1. Check the flush buttons and outlet valve movement
On a dual-flush toilet, remove the lid carefully. Some lids lift straight off, while others have a button assembly that needs to be unscrewed first. Check whether the button rods are pressing down on the outlet valve when the lid is fitted. If they are too long or out of position, they can hold the valve slightly open and allow water to leak into the bowl.
Press the outlet valve down gently by hand. If the running stops, the seal may be dirty, worn or not sitting evenly. Remove the valve according to its design, usually by releasing clips or twisting it free. Wipe the rubber seal and the seating surface clean with a soft cloth. Fine grit or scale around this area is enough to cause a persistent leak.
If the rubber seal feels hard, stretched, split or misshapen, replace it with a compatible seal. Using the wrong size can create the same problem all over again, so take the old part or the cistern model details when buying a replacement.
2. Inspect the inlet or fill valve
The inlet valve controls the water entering the cistern after a flush. It may use a float on an arm, a small internal float, or a more compact modern valve. If water keeps flowing into the overflow tube, the inlet valve is not switching off at the right level.
First, check whether the float is catching on the cistern wall, outlet valve or button mechanism. A float that cannot rise freely will not close the inlet valve. If nothing is obstructing it, adjust the water level using the screw or clip provided on the valve. The correct level is normally marked inside the cistern and should sit below the top of the overflow tube.
A small adjustment may solve the issue. However, if the valve continues to run after adjustment, or only shuts off when you lift the float by hand, its internal diaphragm or seal may be worn. Replacing the complete inlet valve is often more reliable than trying to repair an ageing unit.
3. Check for debris in the valve
Sediment from the water supply can collect in an inlet valve and prevent it from closing properly. This can be more common after water works, plumbing repairs, or in properties using tank water. With the water isolated, follow the manufacturer’s instructions to remove the valve cap or filter screen, then rinse away visible debris.
Avoid using sharp tools inside plastic components. If the valve parts are brittle, heavily scaled or difficult to reassemble, replacement is the sensible option. A small saving on a repair is not worthwhile if a faulty valve later causes an overflow.
4. Reassemble and test properly
Once the seal has been cleaned or replaced and the water level set, turn the isolation tap back on slowly. Let the cistern fill and watch closely. The water should stop below the overflow tube, with no water running into it.
Flush both half and full flush settings if you have a dual-flush toilet. Then wait several minutes. A properly working toilet should stay quiet after the cistern refills. Repeat the food-colouring test if you are unsure whether a slow leak remains.
When a running toilet needs a plumber
Some toilet repairs are straightforward, but there are situations where it is safer to call a licensed plumber. This is especially true if the isolation valve will not turn off, the cistern is cracked, water is leaking onto the floor, or the toilet is overflowing. Water around the base can also point to a failed pan seal, a loose toilet connection or a drainage issue rather than a cistern fault.
Property managers and commercial operators should act promptly where a toilet is continually running or showing signs of a leak. Apart from water waste, repeated overflows can damage flooring, cabinetry and nearby walls. Rural properties may have additional concerns where stored water supplies or pressure pumps are involved.
If replacement parts do not match the existing toilet, avoid forcing them into place. Toilets vary significantly by brand, age and flushing mechanism. A plumber can identify the correct valve or seal, repair worn isolation taps, and check that the cistern is operating safely and efficiently.
Reduce the chance of another toilet leak
Toilet cisterns do not need much maintenance, but an occasional check can prevent a small fault becoming a larger repair. Listen after flushing. The refill should stop within a short time, and there should be no ongoing hiss. Check that the flush buttons move freely and that the cistern lid sits correctly without pressing on the mechanism.
Avoid placing chemical cleaning tablets inside the cistern unless the toilet manufacturer specifically allows them. Some products can damage rubber seals and plastic components over time. For a cleaner bowl, use products designed for bowl cleaning and follow the directions carefully.
A quiet cistern is a good sign that everything is doing its job. If yours keeps refilling, address it early. For homeowners across Busselton and the South West, SmartFlow Plumbing & Gas can help when a toilet repair needs experienced hands and a dependable local solution.


Comments